Set up a custom domain
By default your store lives at yourname.shopspace.io. Connecting a custom domain lets customers visit it at your own address instead. You add one DNS record at your domain provider, and shopspace handles the SSL certificate automatically.
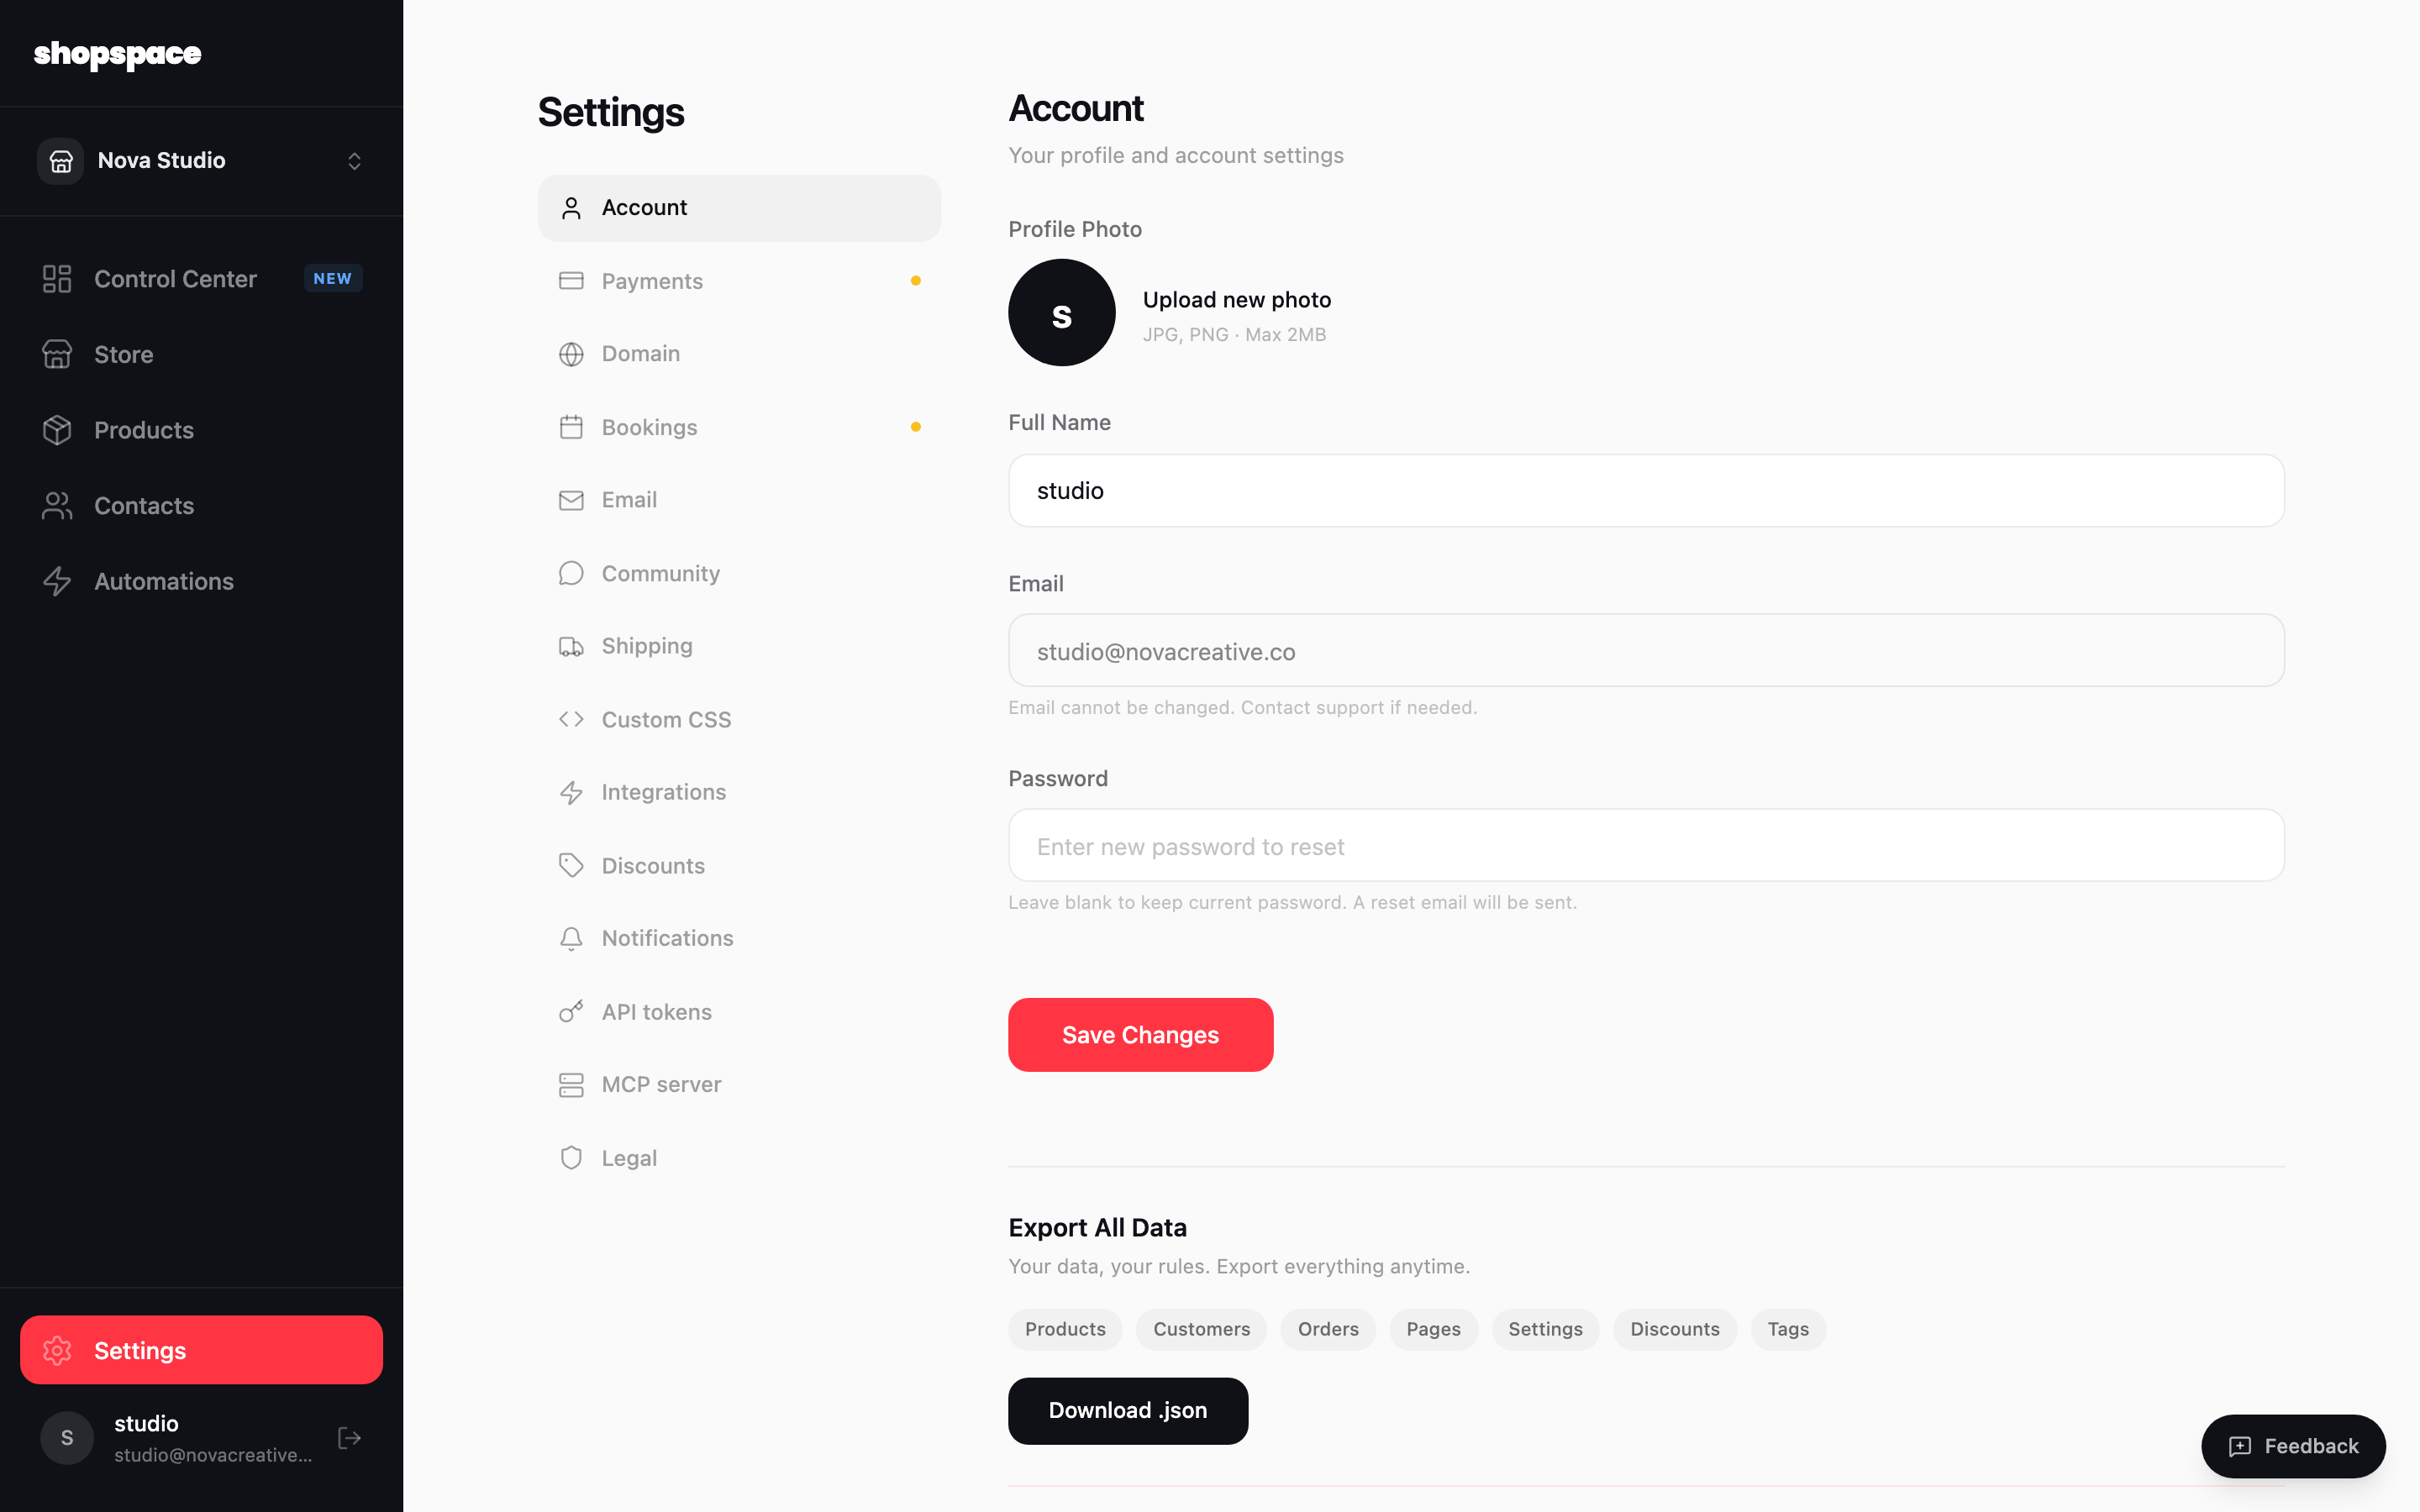
Open Settings
From the left menu, click Settings at the bottom. This is where every part of your store is configured.
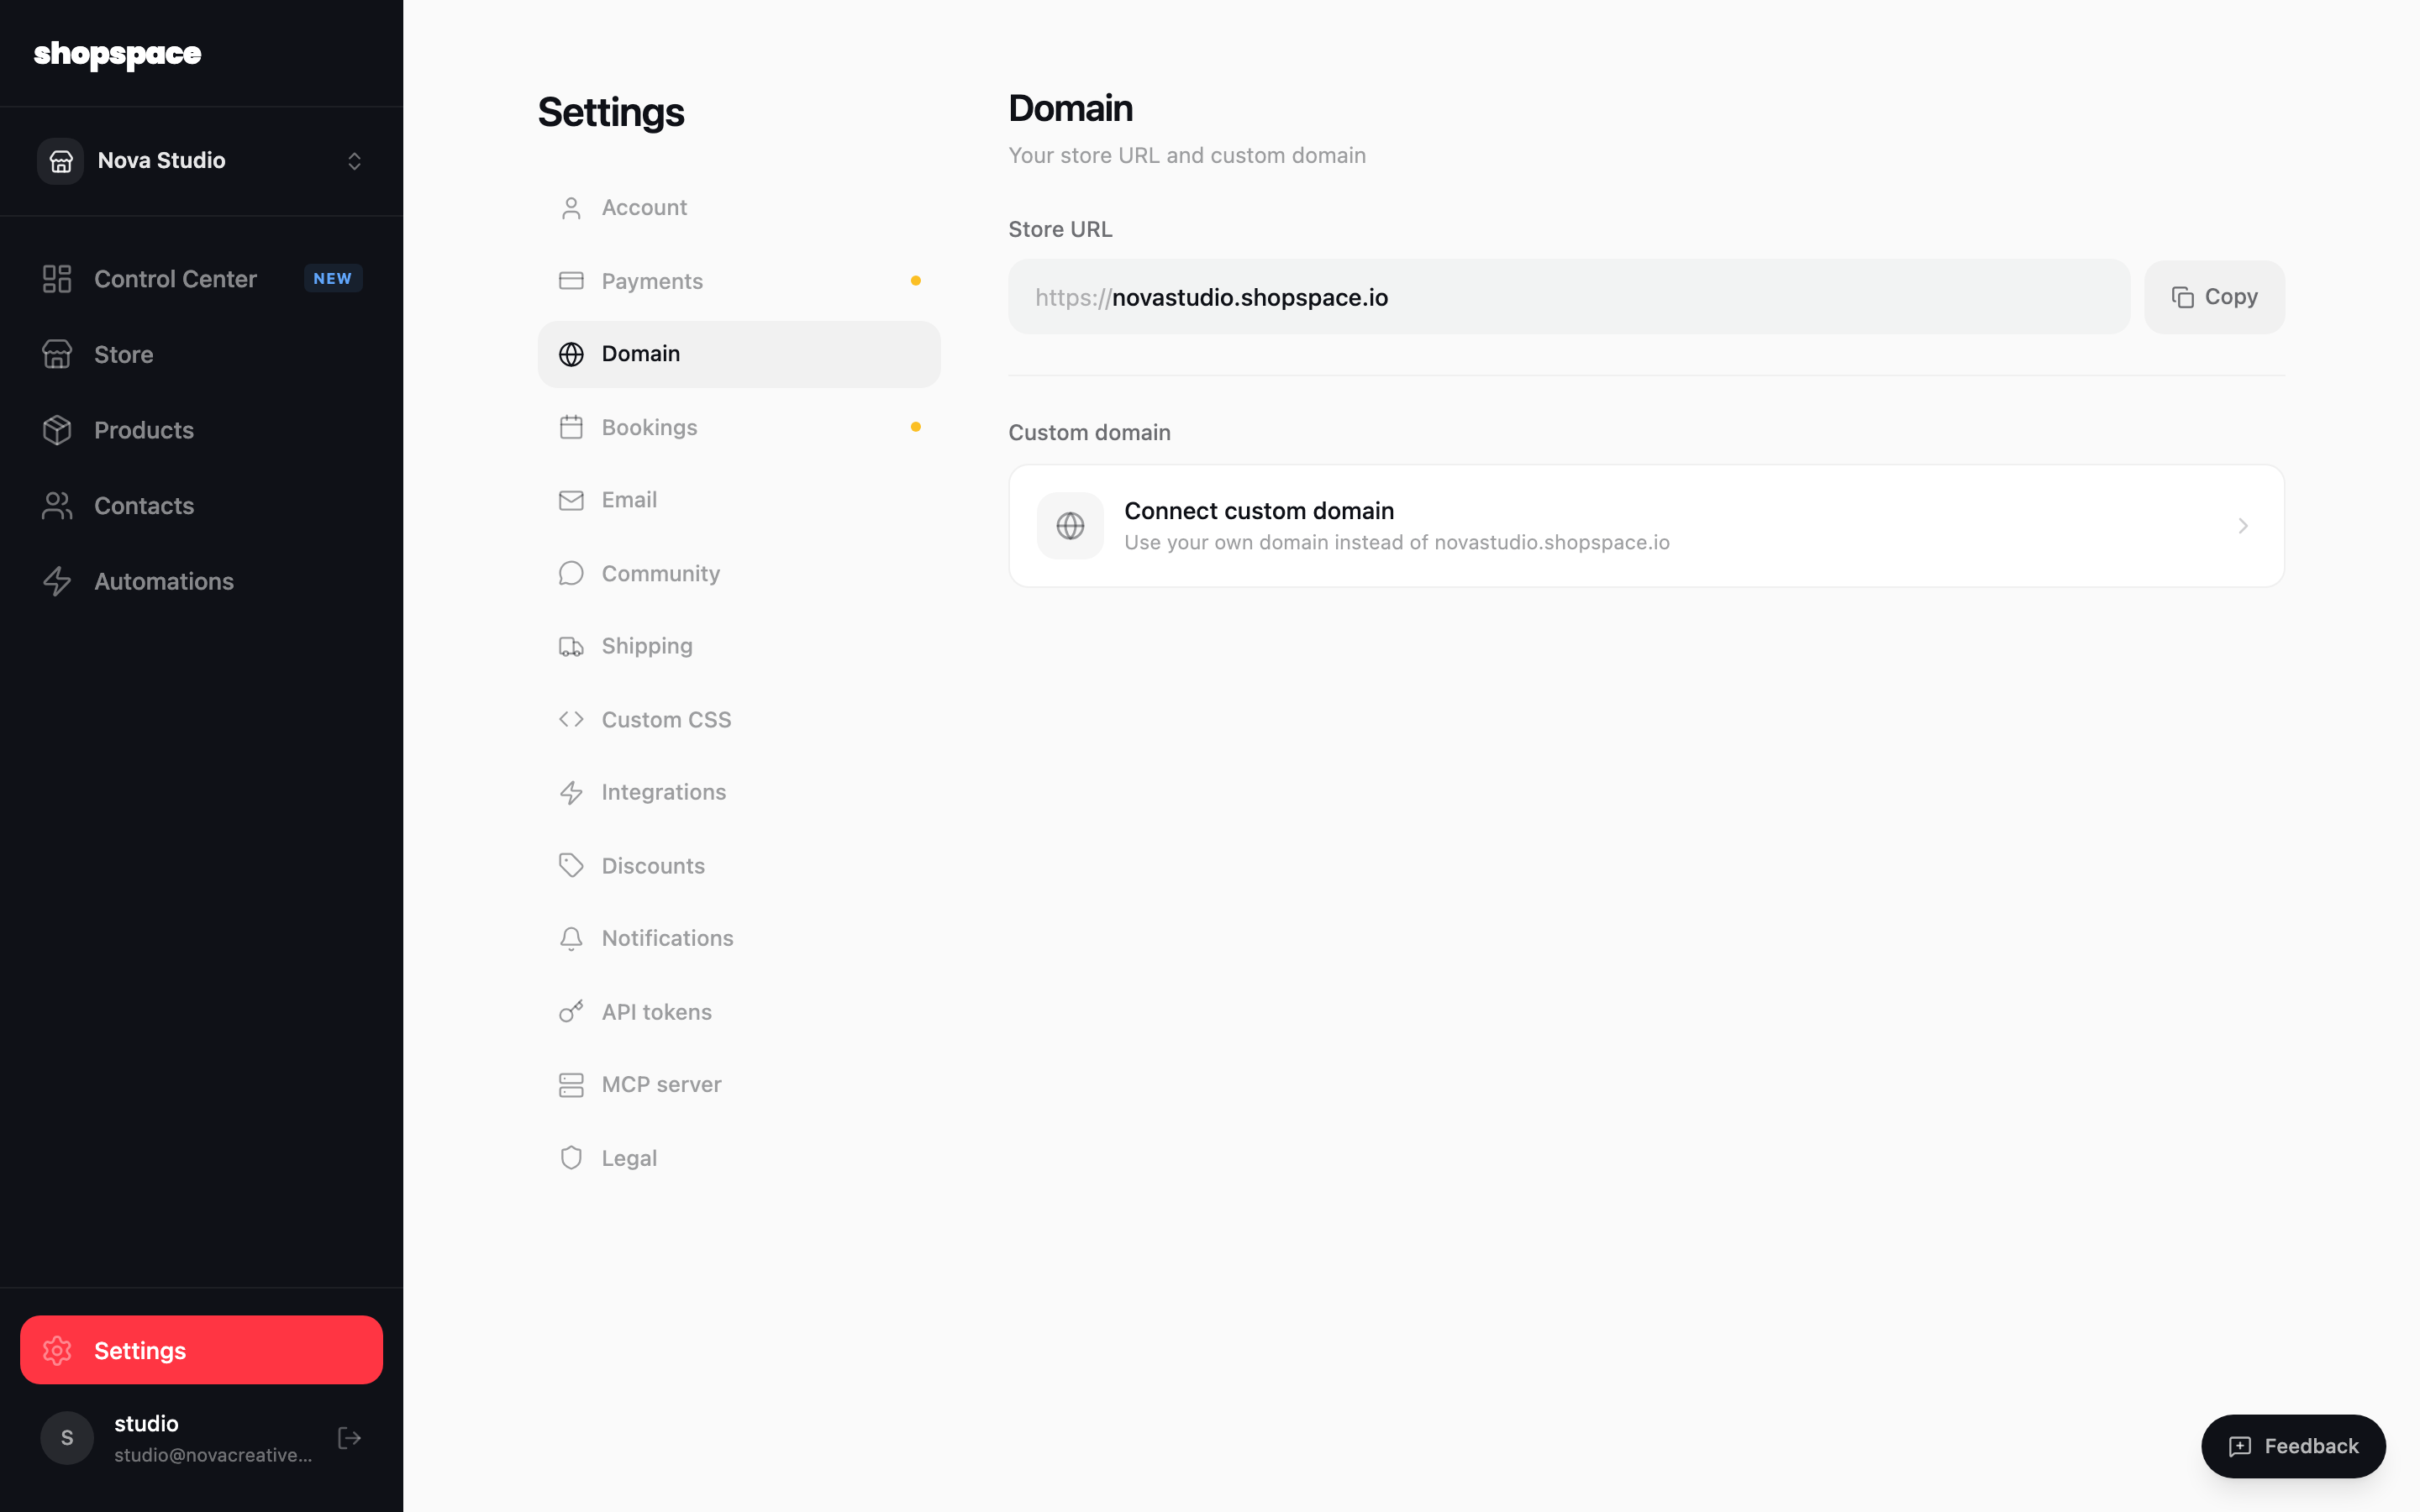
Go to the Domain tab
In the Settings menu, choose Domain. You will see your current store URL and the option to connect your own domain.
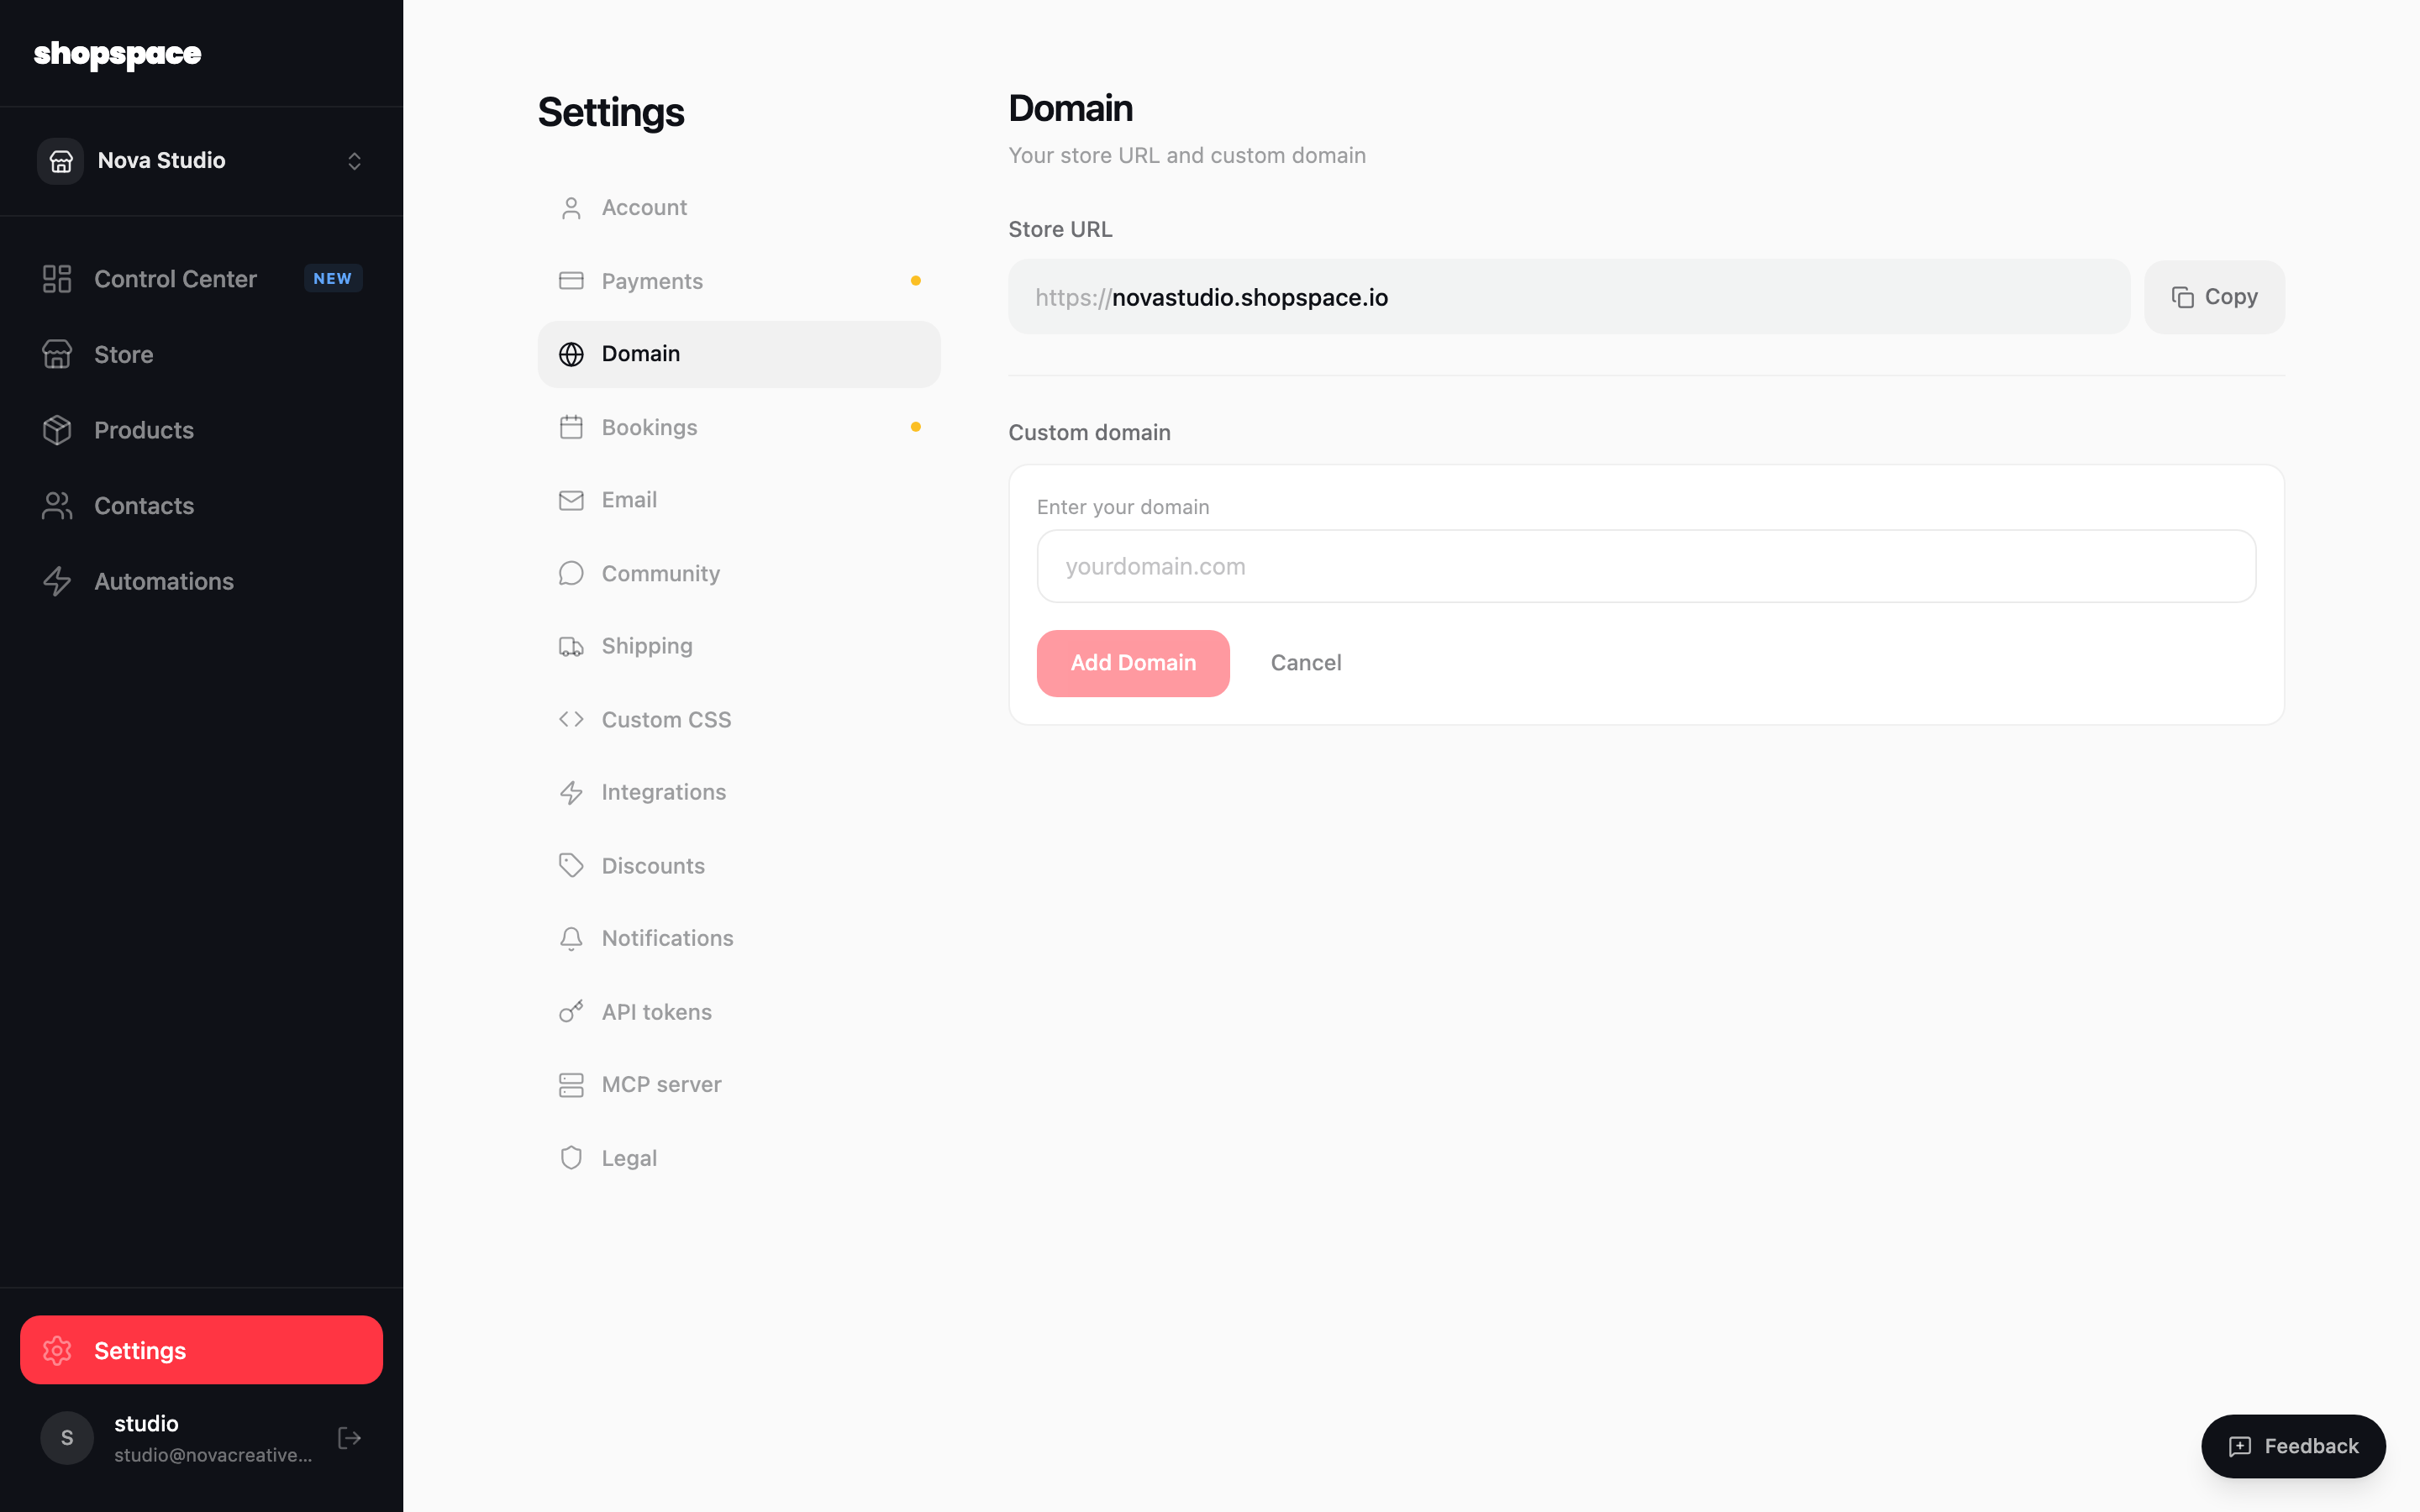
Click Connect custom domain
This opens the setup panel where you enter the domain you want to use.
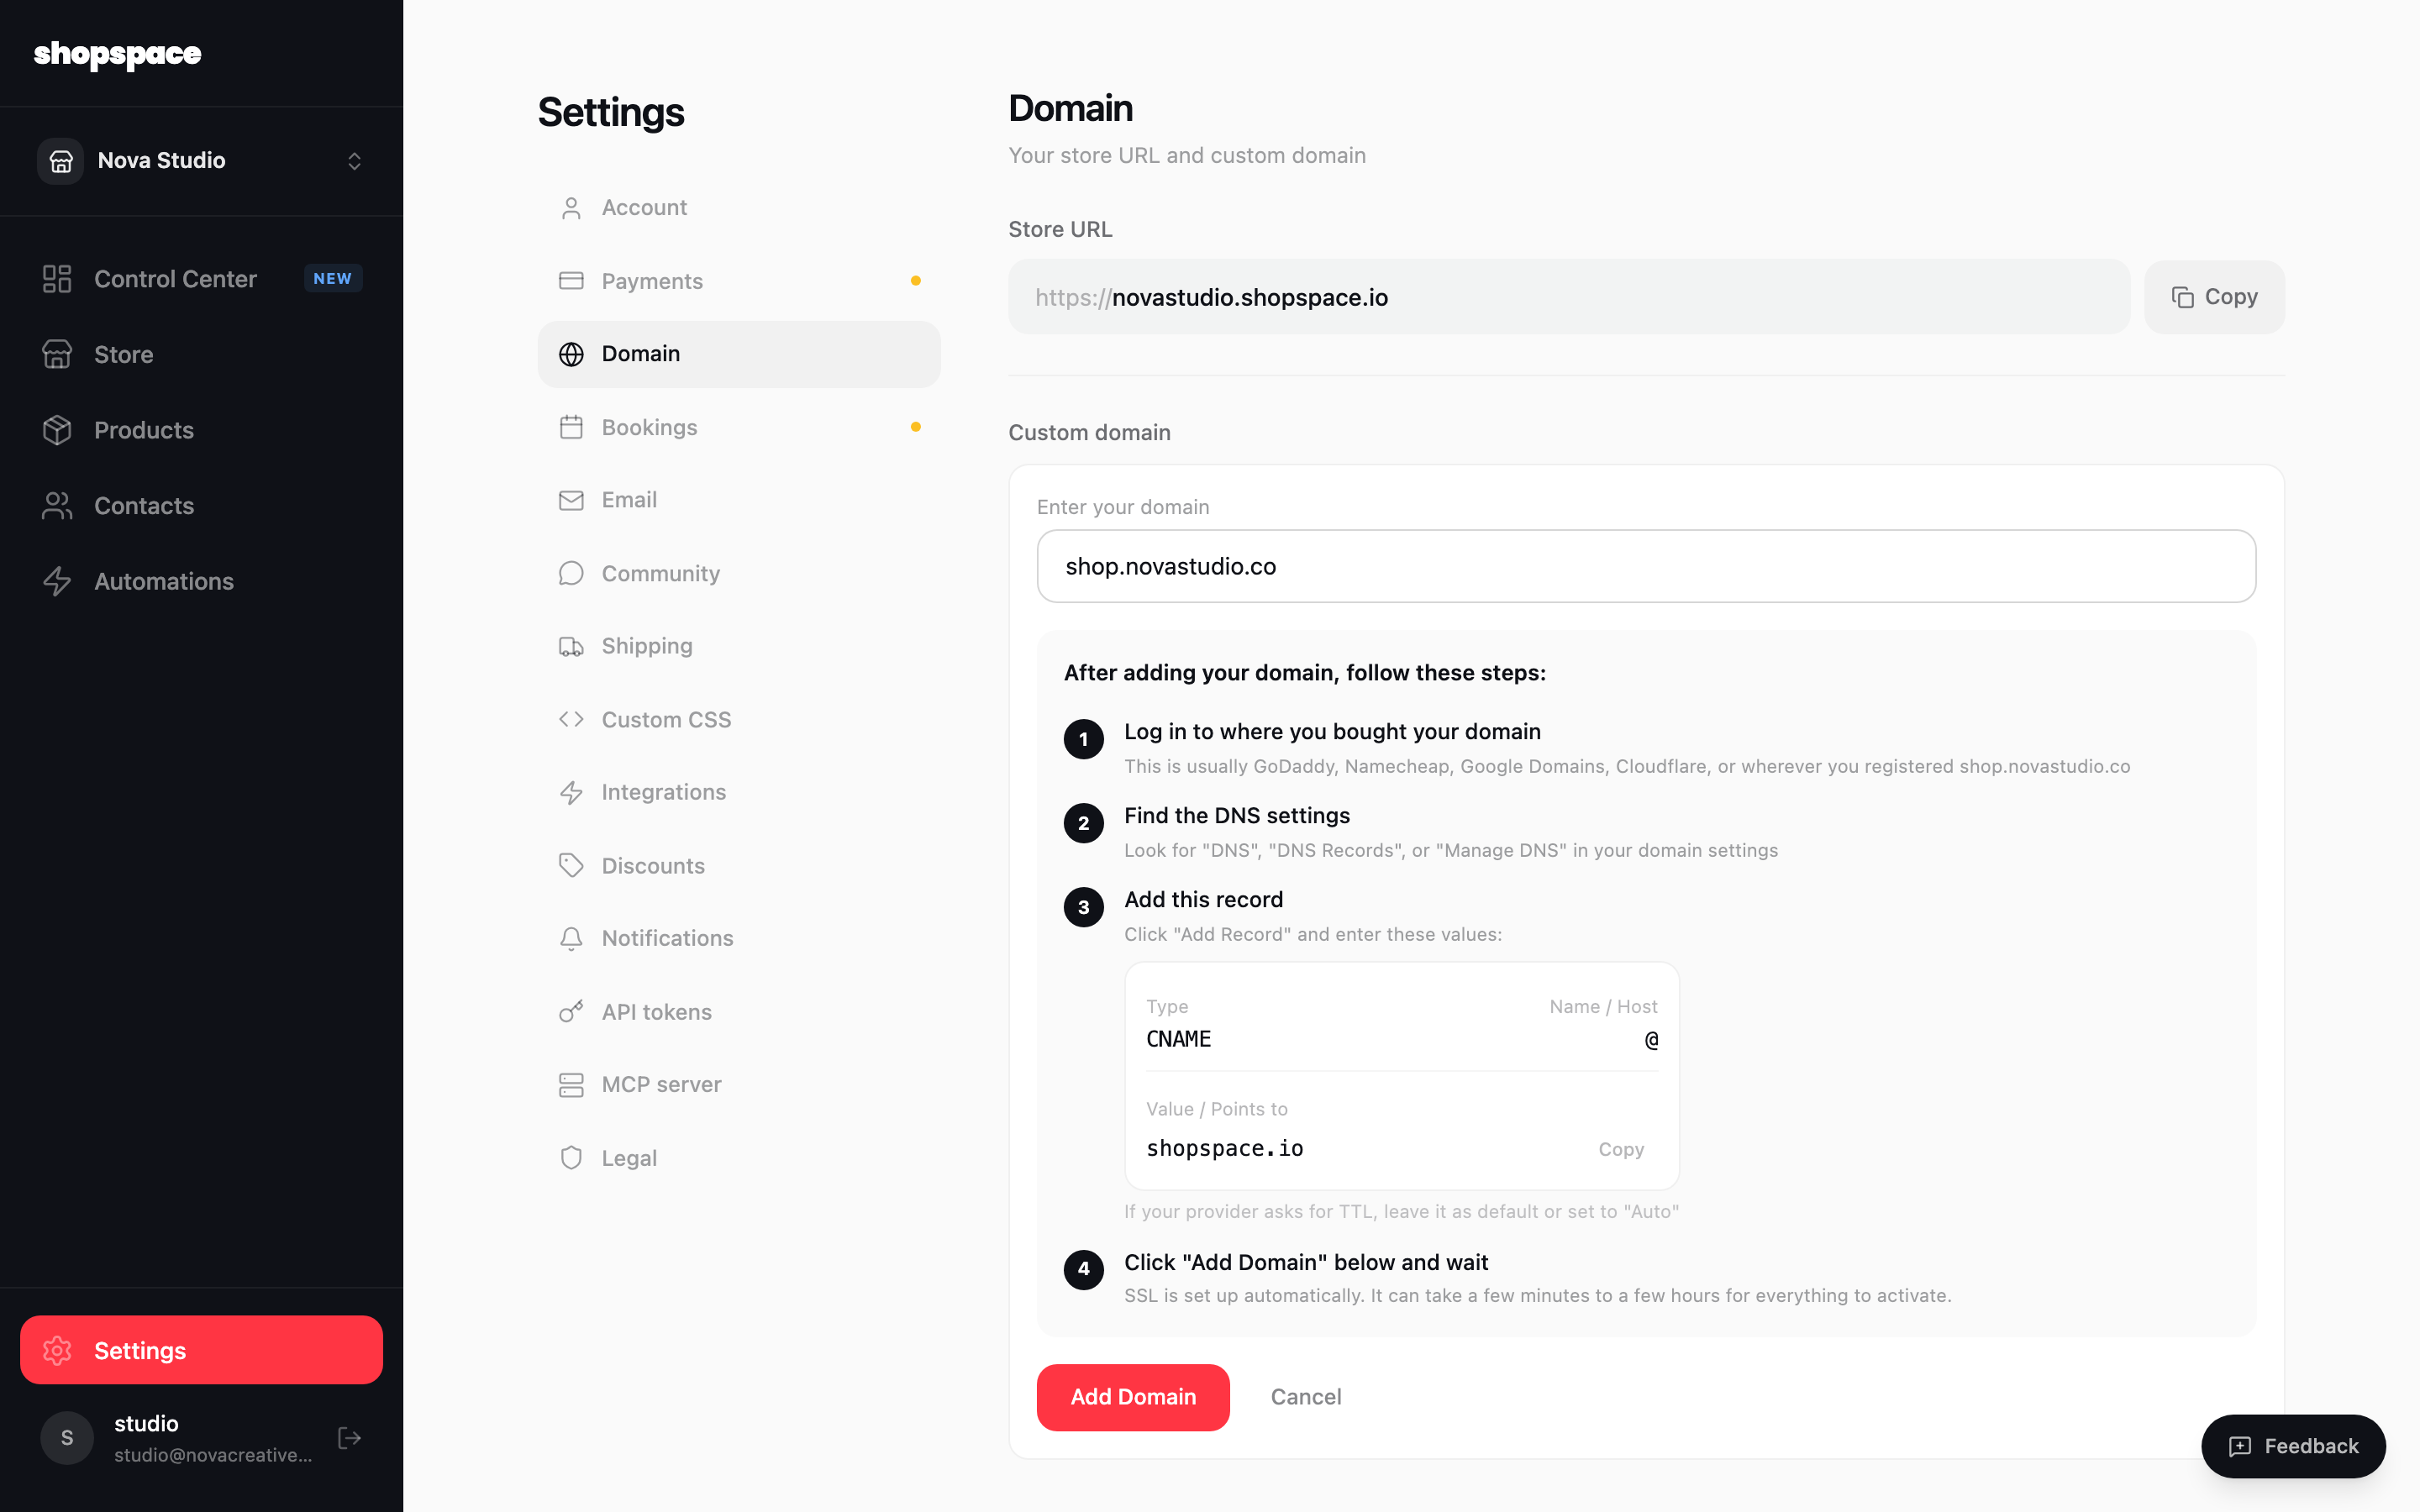
Enter your domain and add the DNS record
Type the domain you want, for example shop.yourbrand.com. shopspace shows you exactly which record to add. Log in to your domain provider, open its DNS settings, and add a CNAME record pointing to shopspace.io. Then click Add Domain. SSL activates automatically, usually within a few minutes.
Good to know
- Use a subdomain like shop.yourbrand.com if you can. Some providers do not allow a CNAME on the bare domain (yourbrand.com) unless they support "CNAME flattening".
- DNS changes can take a few minutes to a few hours to spread. If it is not active right away, wait and check again.