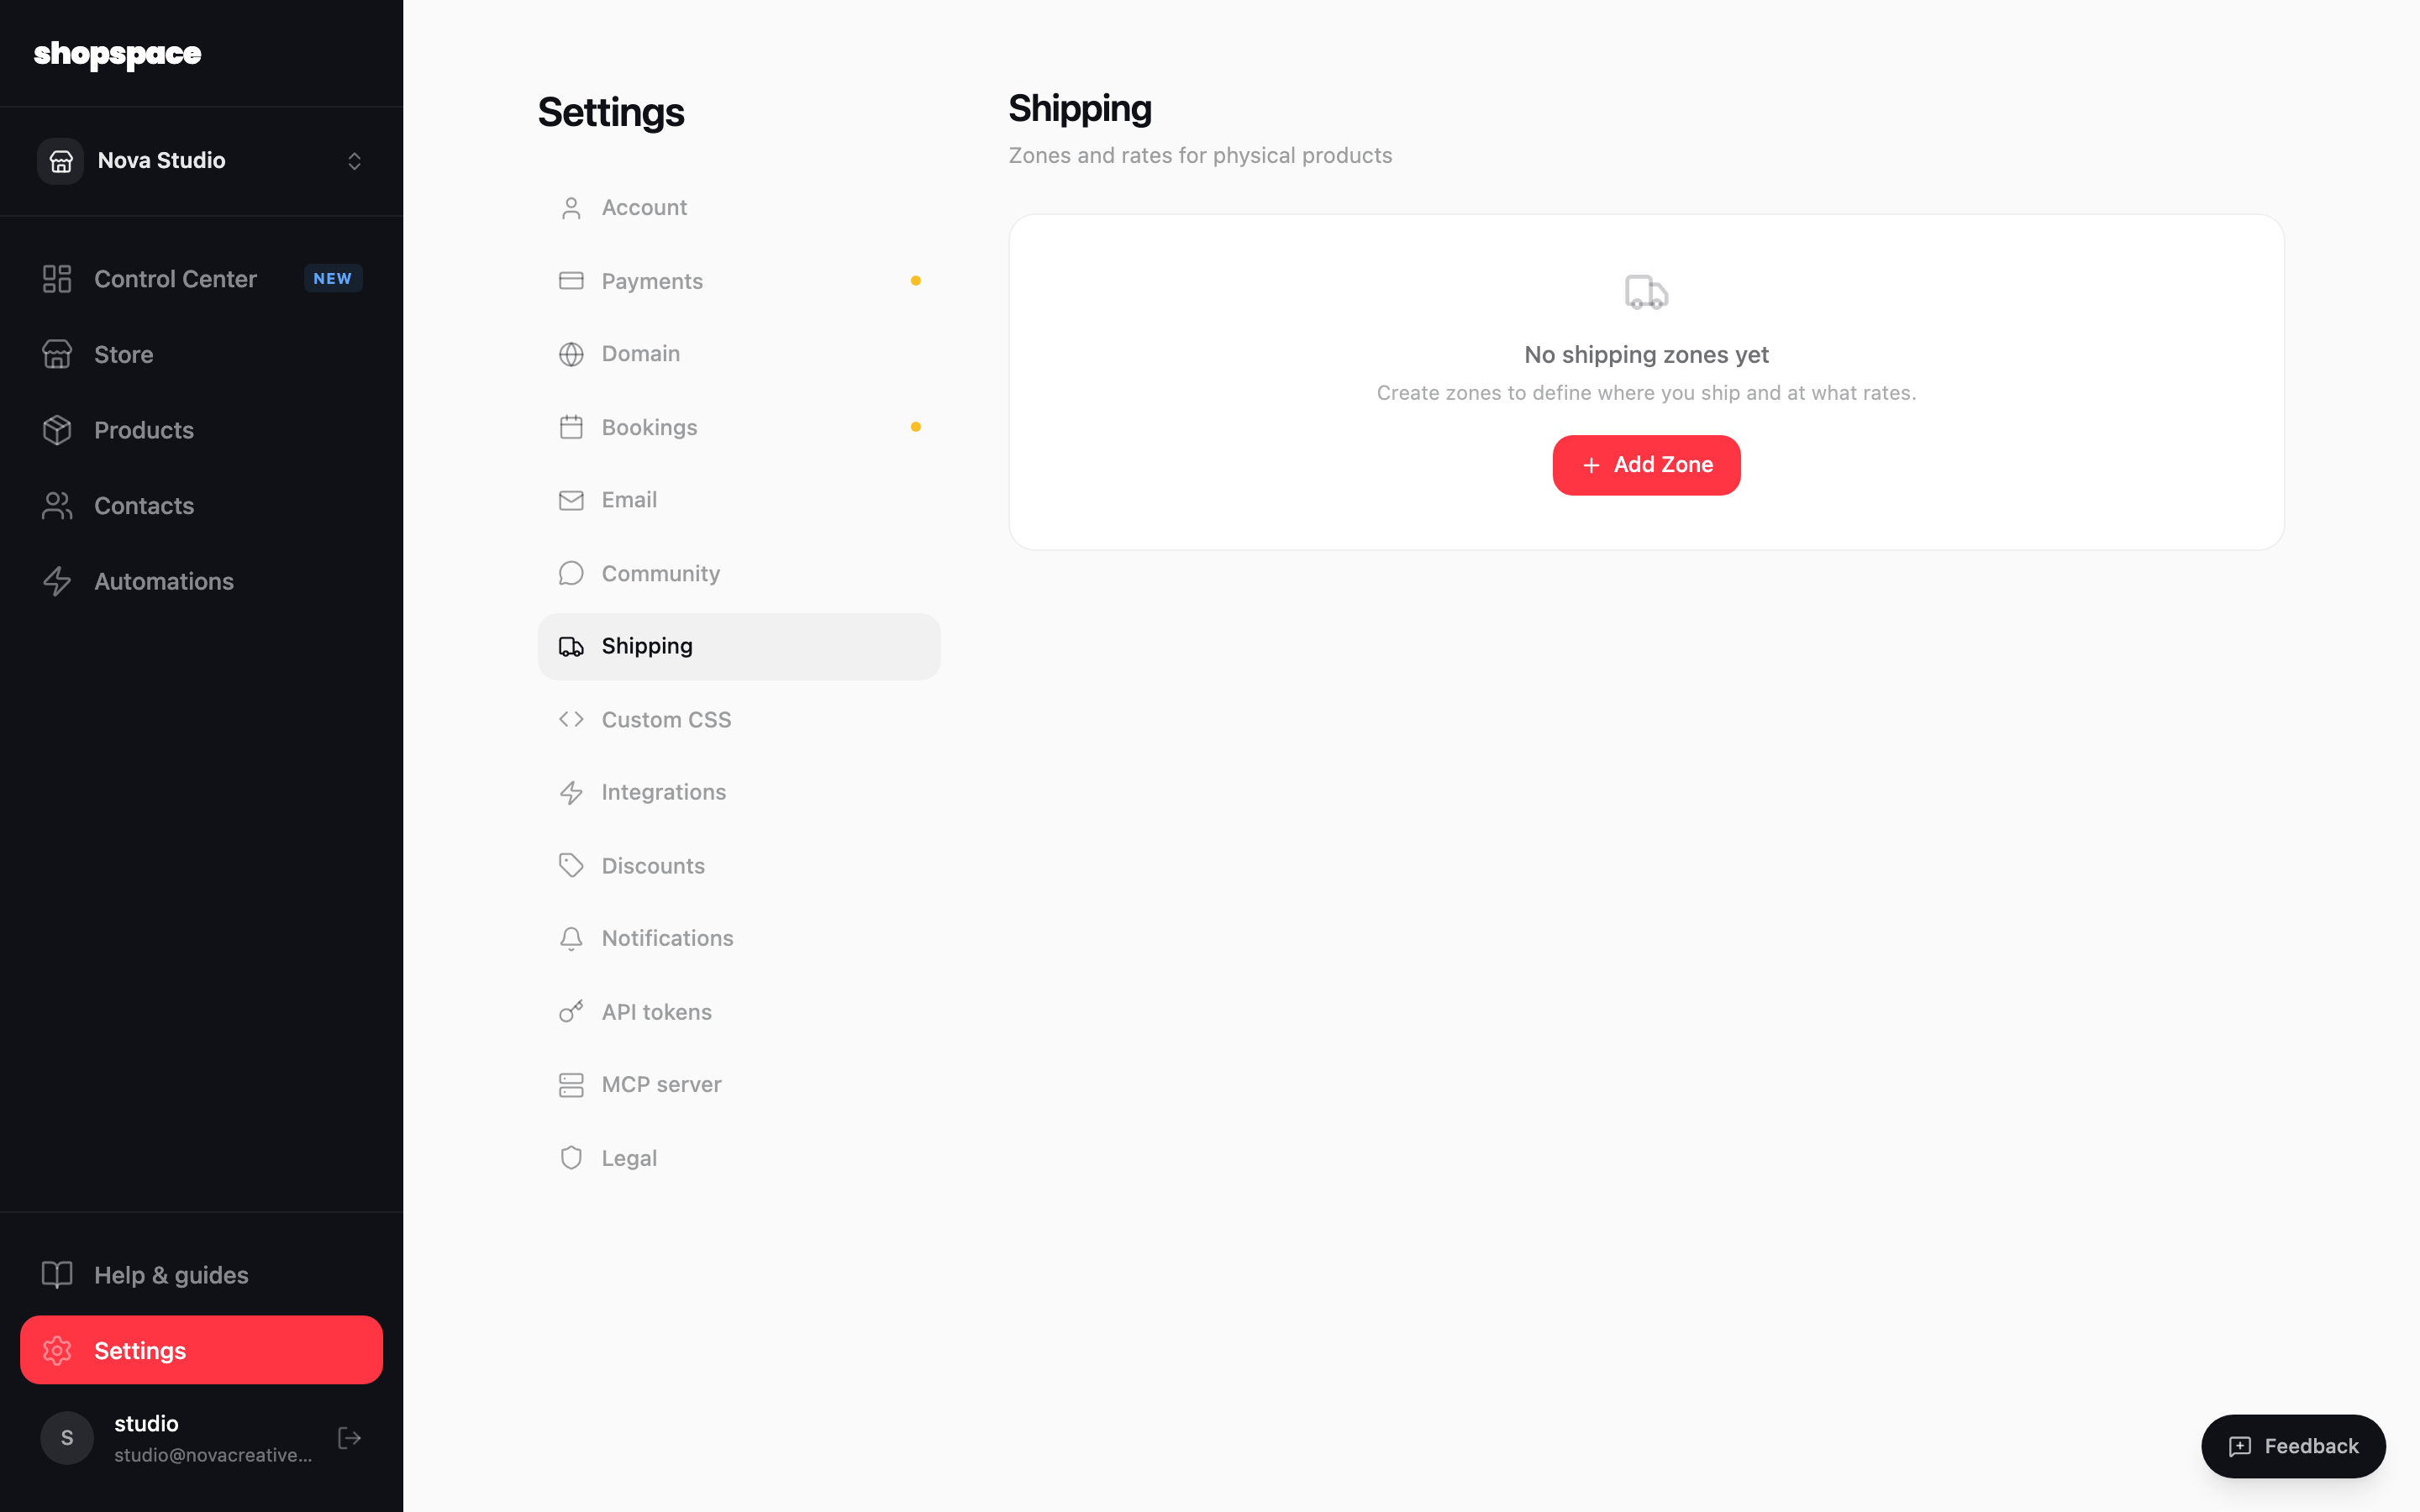
If you sell physical goods, shopspace collects the buyer’s address at checkout and adds shipping to the total. You define where you ship and what it costs with shipping zones.
3 min · 3 steps
1
Open Settings and go to Shipping
From the left menu choose Settings, then the Shipping tab.
2
Add a shipping zone
Click Add Zone to define a region you ship to and the rate you charge there. Add as many zones as you need, for example one for your country and one for the rest of the world.
3
Mark products as physical
When you create a product that needs shipping, mark it as physical. At checkout, shopspace asks those customers for a delivery address and applies the matching zone rate.
Good to know
Start with one simple zone. You can always add more regions and rates later.
If shipping math slows you down, fold the cost into your price and advertise free shipping.